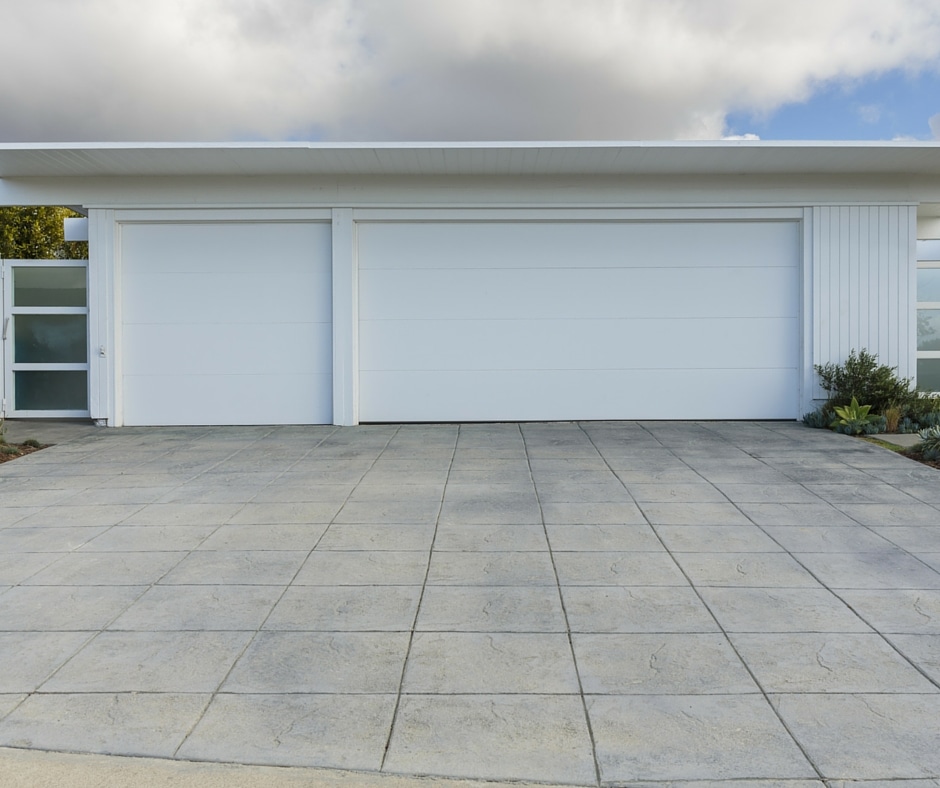
When it comes to paving, you just can’t beat a material with a 2,000 year history. Developed by the Romans, concrete is one of the most durable paving materials on the market today. It bears up better to heat and traffic than asphalt and can even be used in permeable paving situations. In this post, we’ll take a look at how you can install a concrete driveway for your home or business.
Steps for Your Concrete Driveway Installation
1. Make a plan
This will include plotting any structures and vegetation you’re planning on keeping, such as trees and bushes. You’ll want a minimum of 8′ for a single lane although 10-12′ will work better.
2. Determine how well the soil will hold up
A good way to do this is to check with your local county extension service, typically offered through your state’s land-grant university. You’ll want to take a look at the soil survey for your land, which will give you details about the suitability of the soil for your purpose.
3. Locate any underground utilities
Will any of them need to be relocated or installed before you pour your concrete? It’s always better and less expensive to take care of this now than after your pour.
4. Work up a cost estimate
This includes base material for drainage, the cost of the concrete, forms, reinforcement supplies and tools and labor, whether it’s a few boxes of pizza for some local teens or money for a professional crew.
5. Check what codes and permits are needed for your driveway
You do NOT want to have to rip out your new driveway because you skipped this step or neglected to get the proper permits.
6. Lay out your driveway with stakes and string
This helps you plan where you need to remove material as well as giving you a visual for the space it will take up.
7. Remove sod, vegetation and topsoil in the driveway
If you’re dealing with a short drive and can manage it by hand or with a small excavator, you can probably save some money, but professional equipment will get the job done more quickly and with fewer headaches.
8. Add your base and compact it
You can rent a plate compactor or use a hand tamp to press your base down into the ground and settle it.
9. Place your forms and rebar
Forms are as simple as a few pieces of 3/4″ plywood and heavy wooden stakes, and rebar will help reinforce your concrete and help it resist cracking. You may need tools for cutting and bending rebar to make it fit your driveway best, and tools that make tying go more quickly will help move the project along.
10. Plan and complete your pour
Start in the areas that are hardest to access, so that you don’t have to try to get back to them after the rest of the concrete is in place.
11. Finish the surface
Brooming is a popular treatment because it leaves the surface with good mixture of a smoother surface and good traction. Don’t forget to cut in expansion joints every 8 feet and remember to mist it if it’s particularly hot and dry to slow the cure time.
12. Remove the forms
In weather between 65-75ºF, forms can be removed at 48 hours, leaving just enough malleability to deal with problem areas.
By adding a concrete driveway installation to your home or business, you’re adding value in the form of higher property values and a lower-maintenance drive. At BN Products, we’re happy to supply you with quality tools that will help you get the job done right the first time and with less effort. Please contact us today for more information on our products or with any questions you may have.


