For many of us – who are not contractors, but homeowners – when we think of installed Drywall, we think of paint jobs, family debate over colors for each room, and are grateful for the fact that drywall generally lasts many years, can be repaired, and is cost-effective.
However, before any paint can be selected, or even primer applied – a process critical to the success of the job take place to create smooth walls and a paintable surface where wallboard joints, screws, and corners are exposed. This is typically accomplished by applying paper drywall tape over seams, and then up to three coats of drywall mud or joint compound. After the mud fully cures, a thorough sanding process is done to create a smooth surface, free of visible seams and holes for screws or nails. Each step is necessary for a successful drywall finish.
Drywall mud is typically applied in three layers, but is only sanded after the third and final layer has been applied and has been cured (dried, & hardened). This allows each layer to bond properly as they are applied. After drywall mud is applied over seams and joints, and exposed screw hotels are puttied-in, and has completely dried – sanding will put a finished touch on the new wall surface.
Before we discuss drywall sanding equipment, it is also important to know that drywall sanding, simply put, is a dirty job. There will be mounds of dust! If applicable, you will want to do your best to seal off doorways and passages to other parts of a home or building, using sheets of plastic and tape. Don’t forget a quality facemask (one designed for dusty construction environments) and eye protection (goggles are recommended) before you get started, to avoid inhalation of airborne particles. Drywall dust is dangerous and may cause damage to your lungs and eyes if proper precaution is not taken.
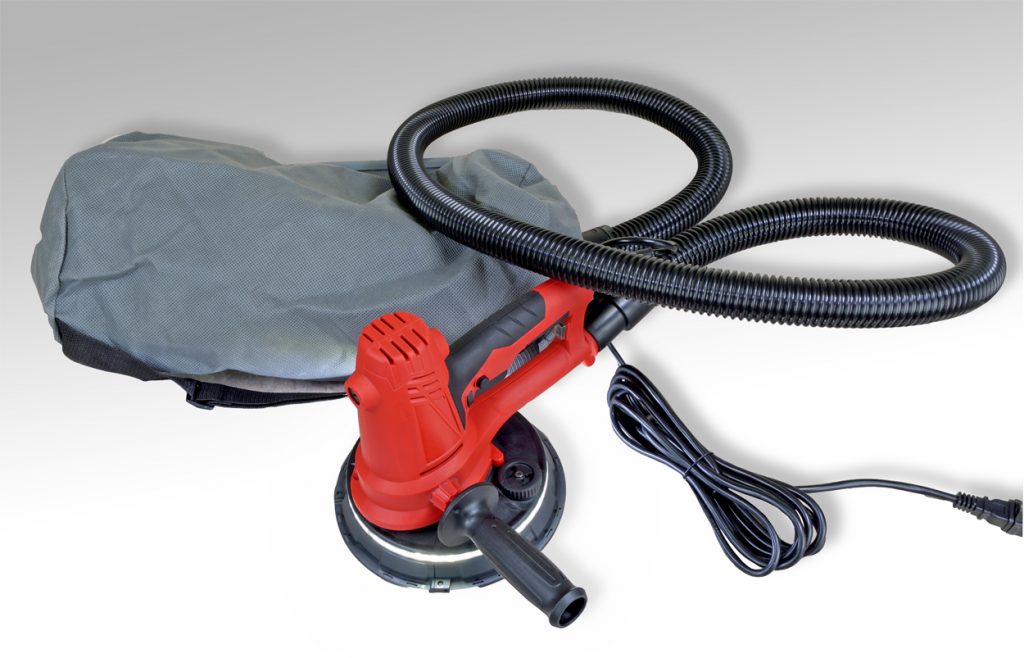
When you are ready to begin sanding, once again – proper equipment often makes the difference between an attractive, completed job – and one with repairs necessary after the initial steps are complete. We highly recommend using an electric sander designed specifically for sanding drywall. Different types of sanders are commonplace in the tool market:
- Sanding blocks or manual sanders are often fine for sanding over a wall repair over a small area, where sandpaper, a sponge, or other abrasive material is fastened to a block or hand tool.
- Electric sanders are necessary for larger jobs, and include and array of options:
- “Dustless” sanders have built-in connections for vacuum hoses that connect with most vacuum cleaners, including Shop-vacuums.
- Some feature changeable sanding heads (triangular, vs. standard circular discs) for corners and hard-to-reach areas where there may be little operating space. Some sanders can use specialty sandpapers designed for specific surfaces or to prevent clogging.
- A pole-sander with a swiveling head is strongly recommended for larger areas, when reaching a ceiling, or large expanses of a wall surface must be sanded. Different lighting options are available to improve visibility of the work area.
The drywall compound must be completely dry for sanding. You will want to vacuum any excess dust, and wipe down with a damp sponge (letting the surface dry) before applying a sander.
If you are unsure of why kind of sander you’ll need, BN Products-USA™ carries three specialty sanders that include each of the important electric sander options mentioned above. You’ll likely find the options that you need within our product line. Let’s take a quick look at some of the options available:
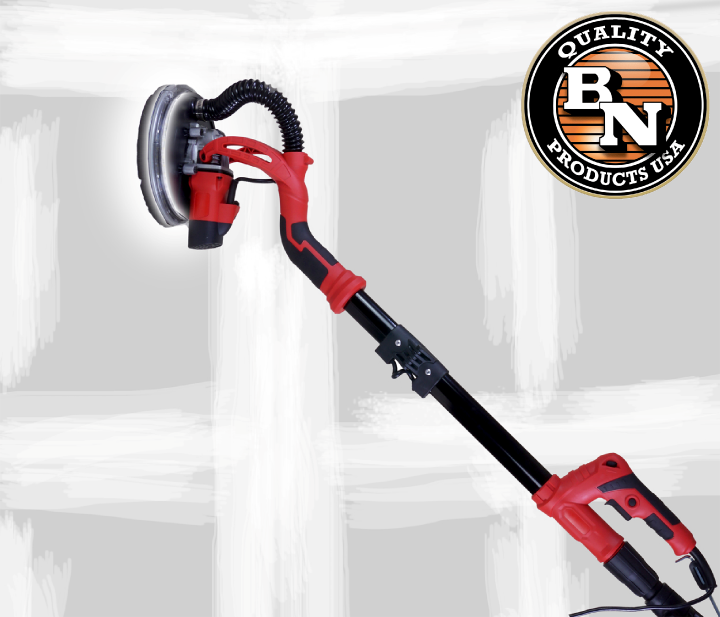
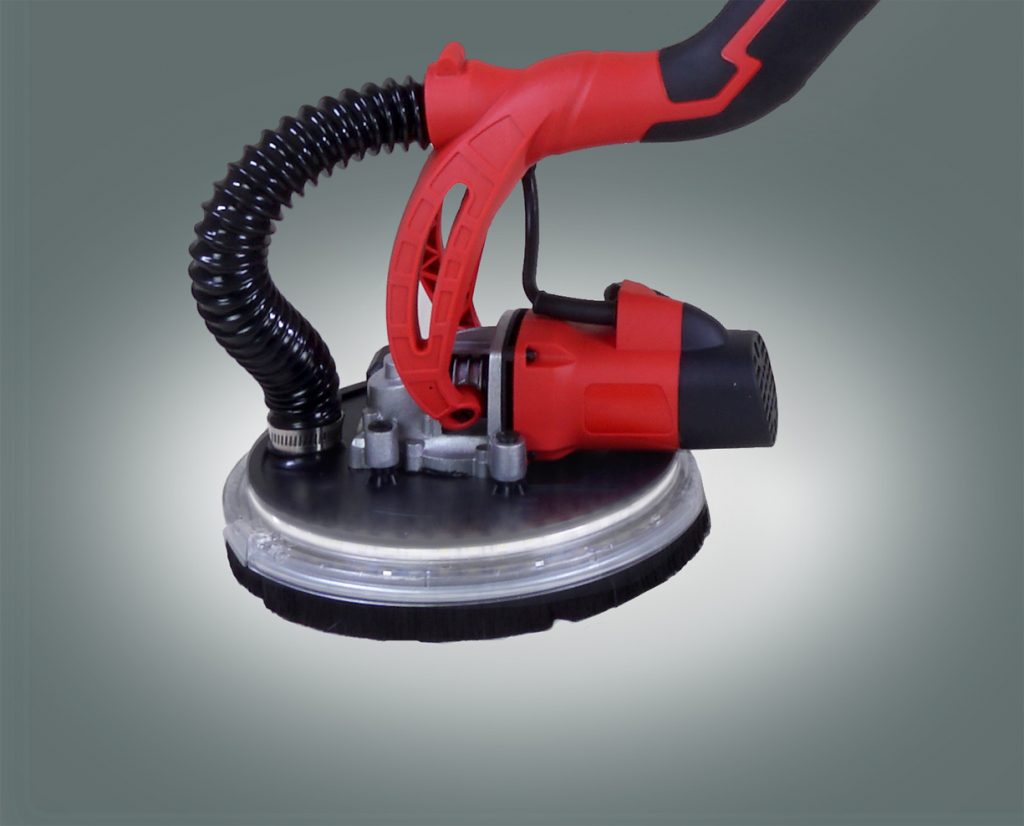
- BNR1837 Drywall Sander – This machine is an orbital sander, using 9” round sanding discs that are ideal for ceilings and walls. With a maximum extension of over 5 feet, this is a versatile all-in-one selection that includes vacuum intake from the disc center and edges for maximum pickup of dust. A standard vacuum hose allows the sander to connect with most vacuum cleaners (HEPA-compliant recommended), so that an existing vacuum system can be utilized. This sander also includes a halo-style light that is controlled with switch on the handle of the tool, and a folding handle for easy storage and portability.
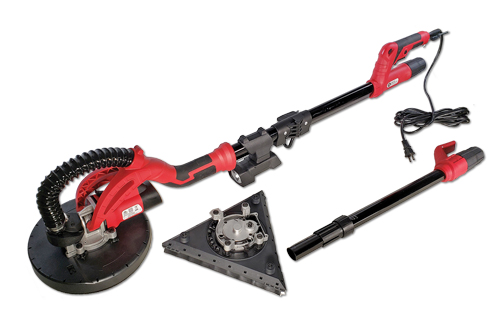
- BNR1839 Drywall Sander – similar to the BNR1837, this unit includes the same extension, size, connections, and versatility. This sander features a convertible head that can be switched from a round, orbital sanding pad to a triangular pad that oscillates. The triangle head is ideal for sanding corners and drywall edges. This is a great choice for clean and tight sanding wall or ceiling edges and corners.
- BNR1841 Drywall Sander – This tool is designed for sanding walls and ceilings made of drywall or plaster in any position. This is a lighter handheld version of the BNR1837 Drywall Sander. The removable brush segment allows sanding right up to the edge with ease. The motor is powerful enough to provide its own suction of the dust produced. Center holes and edge vacuum locations provide a large area of dust collection.
The tool provides an easy hook-up with a standard vacuum hose to ensure a dust free working environment. (When coupled with a properly used HEPA vacuum), much like the BNR1837/1839 models. However, the BNR1841 includes our new HALO lighting system that helps make sure you can see all the variations you are trying to sand.
This tool uses our smaller 7″ sanding discs to allow for extra control and handling sander.
Regardless of the size of your job, BN Products-USA™ has an extensive network of Distributors are happy to assist you with your equipment and supplies, including replacement sanding pads, discs, and accessories. Check out our collection of Drywall tools and Material Mixers for your drywall-finishing needs, complete wit numerous options for replacement sanding discs and accessories. …and be ready to choose your paint colors as you finish the job more quickly and with better results using our innovative and quality solutions!

